

When me and my wife, first saw this project, we fall in love with it. We decided to do it immediately, but couldn’t able to pull up. Since we are busy in arranging and organising things which are higher priority list.
But finally, we are able to complete it together, this one DIY is so simple and beautiful, that after its completed you also wish to do it. All you need is ANY printer, it’s not necessary you have color or laser and clear tape.
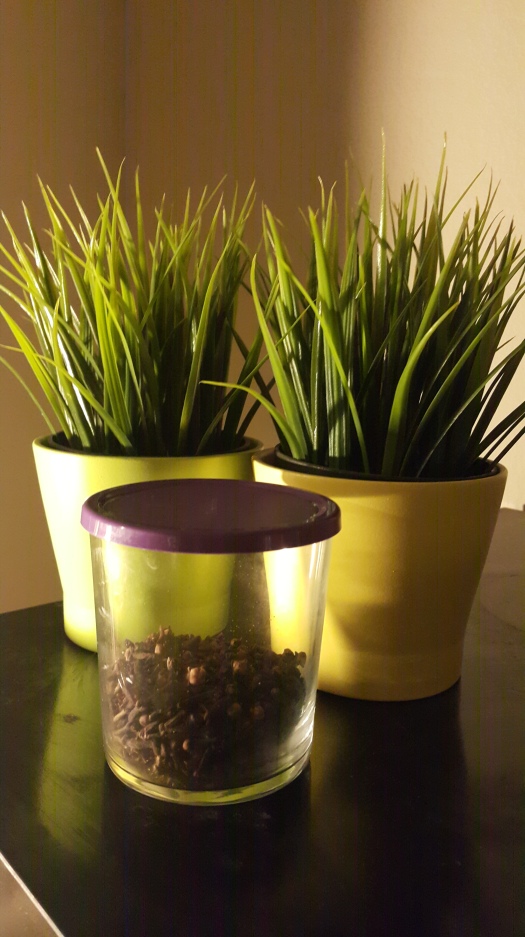
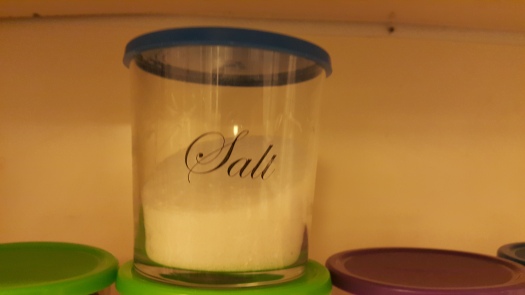
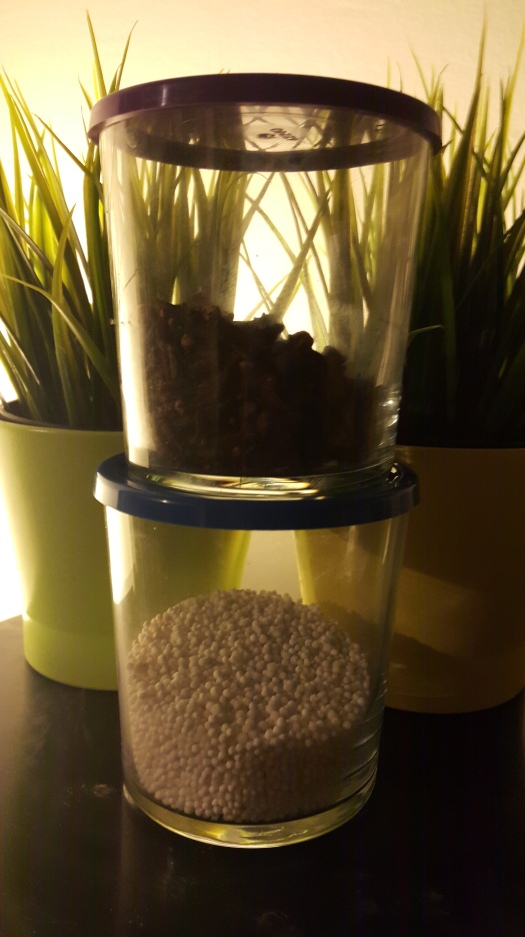
How you like the looks of empty kitchen bottles / jars / makeup kit / storage box ? with the below technique you can easily put a customised print design as per your liking. Do you like to change the look of your empty bottle from this:
To this:
How do you like it? I love it simply. Here what you have to do:
Step 1: Put the names or design on a piece of paper that you like to place, and take the print out. It can be anything you like.
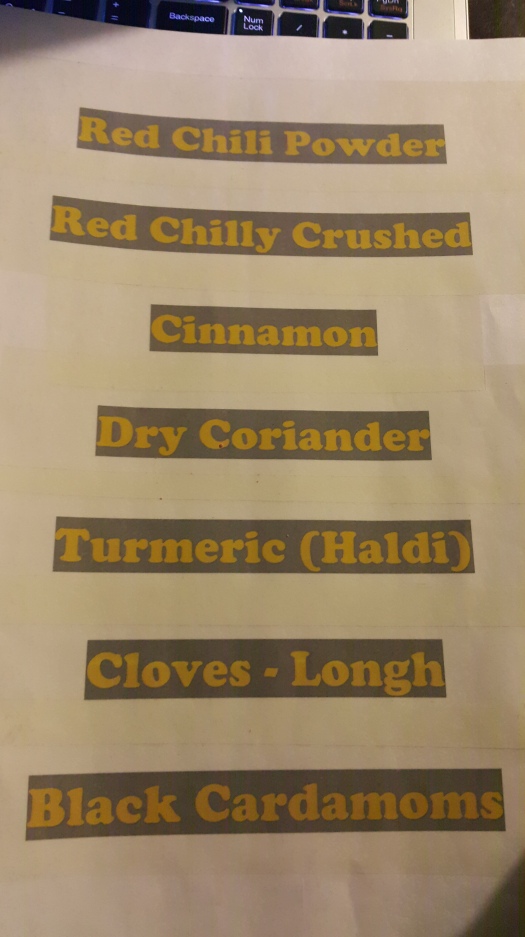
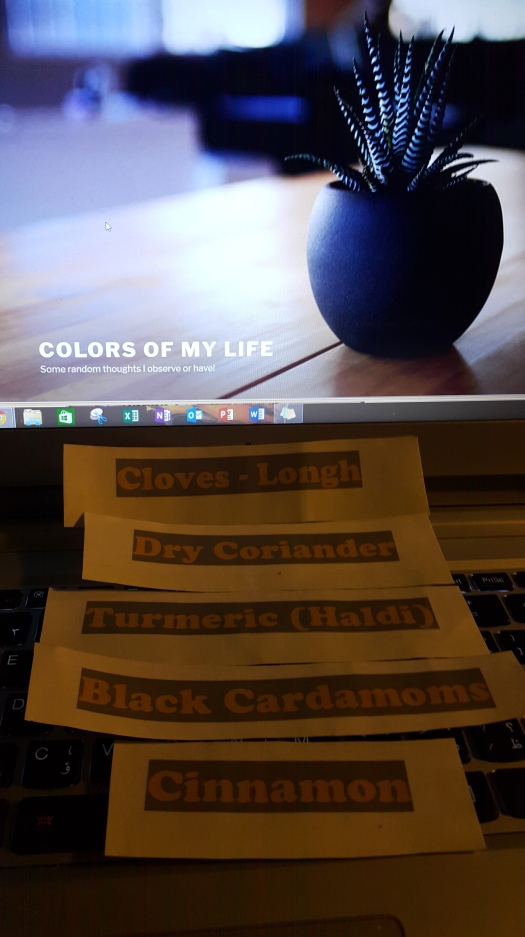
Step 2: Put on top of each name / design, Scotch tape try to use a credit card to flattened the surpass, this step is a bit tricky. Be maximum careful in it. Afterwards, cut them according to your liking as to how the label should be.
Step 3: Once done, place each of them in water, such that it submerge in it completely for 1 to 2 minutes max 4 to 5 minutes. Don’t worry, the scotch tape, stickiness won’t get off. Make sure it’s complete submerged. The paper will started to roll don’t worry. Let it be!
 Step 4: Remove the label from the water, and gently rub off the paper from the tape. The more you keep it submerged the better it gets to rip off the paper, else it will remain stick to the scotch tape than it will be difficult to get it out.


Step 5: Remove this paper completely, till all the white surface is gone. Remember, try to remove the best you possibly can. Don’t worry at all, that it won’t stick. The stickiness will remain. Once done. Keep it for 5 minutes to dry it. Once it dry you can now place your label / design on your empty kitchen bottles / jars / makeup kit / storage box or anything you like.
Hurray! it’s done, another objective done and dusted!!!


Tell me how you like it? Try it and let me know, I am quite excited about it as to how you like it. Since we love it.

What a great project’s strategies! So much fun when doing this!
Have you tried it?
Never tried it, but I am thinking to try it, seems nice these things, maalem! 🙂
Try it to have a change, I try to do something different to have a change from monotonous life.
I am gonna do this do this refresh my mind from routine work , I truly think the same you think, two minds in one can. Shkran maalem, entails feker Taman! 😉
Shukran jazeeran kateeran
Adam, ya kbeer!
Afwan, sadiqe
Your labels are lovely! This looks like a fun and useful DIY project, and I love how it brightens up the kitchen as well. Thank you for sharing!
You are most welcome, Glad it could be useful to you
I just wanted to let you know that I nominated you for The Mystery Blogger Award! Check out today’s post on http://growingself.blog
O thank you so much.
O wow just read the post, such a beautiful picture. Loved your answer. I have so many awards lined up. I better get my act straight and start finishing those asap.
Thank you again.
Its a gud idea. (Y)
Thank much appreciated
Very nice
Thank for passing lovely comment 😊
It is a great idea and so detailed in the instructions it would be hard to go wrong.
Well the most tricky part in this. Is to put the tape on the labels. And to flatten it with credit card or any card. Since I have to tried a number of time. That it comes properly. But I guess it was my tape issue, always ruining it. So that you have to be carefully. Else it’s very simple!
Yeah tape is a pest. But so long as people go carefully it should be fine .
My wife adores it, since didn’t have to go to so many jars finding the spices.
We Asian loves spices a lot. So we have abundance of them.
I like spices and herbs in cooling. I loved the Salt jar.
Glad you like it.
Maybe if I had some nice jars I wouldn’t get hit over the head every time I open the herb and spice cupboard and they all fall out!
In that case you need to do DIY for this issue.
I am sure a lot of Asian ladies specially will become your follower. 😉
Hee hee. I sure do need to tidy up a bit more ! x
That’s why make objectives! To finish the work
So beautiful
So vibrant and beautiful
Hope to see it done from your end.
Would love to try
Yes do try, very simple and easy. Just need a printer
Thanks for following
Wow! I love it, I’ve never seen this DIY before yet it looks so simple to do. I’ll have to give it a try once I have a printer lol. The salt one almost looks like it was made that way because it came out so clear! Thanks for sharing✨
We love it too, so so so simple, you can put a design on your makeup kit. Or put chilly picture on a chilly jar.
Will be waiting for a blog post on it at your end.
Wow fantastic what an awesome imagination I loved it
We have the same feeling like you have expressed. Thanks for passing your comments.
Welcome.